Installing / Getting started
Introduction
Q247 connects automatically with many Source Code Management platforms. There are two key elements that allow analyzing calories and need to be configured in the system:
- Enterprise Plugin - which is a binary executable that connects to Source Code Management system (Github, Gitlab, Azure DevOps)
- Source Code Management access configuration and credentials - which is done via Q247 user interface.
Below is a detailed user manual for configuring different Source Code Management connectivity within the system.
Private Plugins vs Cloud Plugin
Q247 can access source code management system either from our secure cloud infrastructure (aka Cloud Plugin) or via locally installed (within infrastructure of the Customer) plugin (aka Private Plugin). Regardless of the mode functionality of the platform is the same.
Cloud Plugin
Cloud Plugin is the default approach. With Cloud Plugin there is little or no involvement of Customer’s infrastructure/dev ops team required to integrate source code management system with Q247. However it requires that Cloud Plugin has open access to Customer’s Source Code Management system. On Customer’s request it is also possible to provide additional security layers between our Cloud Plugin infrastructure and Customer’s (such as a dedicated VPN channel). Detailed security information is provided in Q247 Security Specification document.
Cloud Plugin does not require any configuration in Q247 UI. It’s available to all customer’s and enabled by default so no additional steps are necessary.
Cloud Plugin Connectivity Requirements
For Cloud Plugin to operate one must open and provide a network routing between our european edge outbound IP (65.21.124.153) and Customer’s Source Code Management System REST api endpoint (detailed configuration information is provided in following sections of the documentation).
Private Plugin
Customer can create and configure a dedicated Private Plugin. Then the plugin along with plugin configuration file can be downloaded and installed in Customer’s infrastructure.
Creating and installing Private Plugin
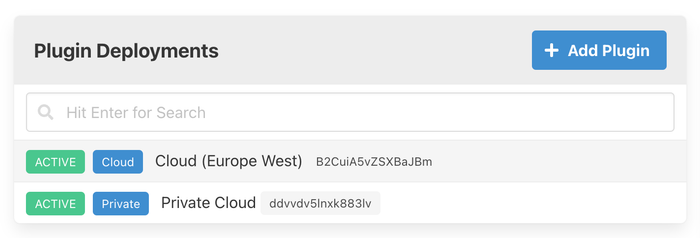
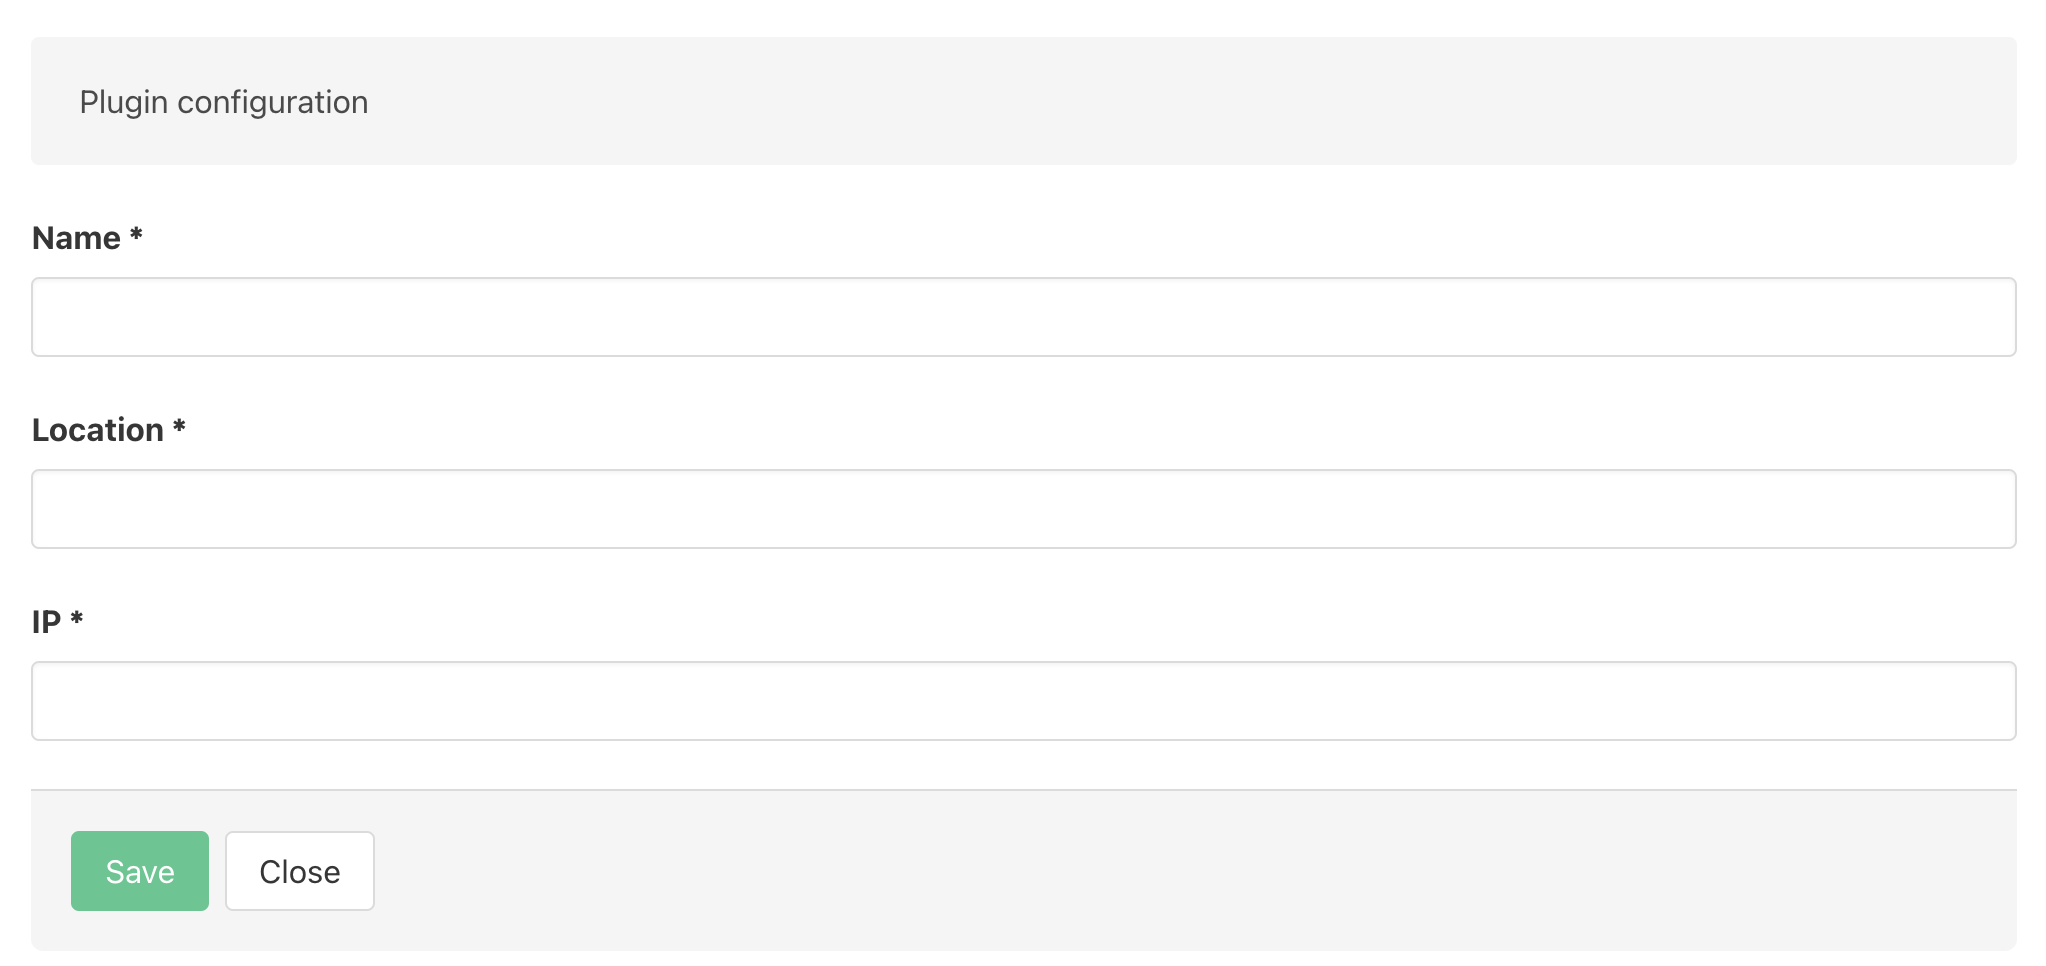
Go to Manage Organization → Plugins. Create new Private Plugin with Add Plugin button.
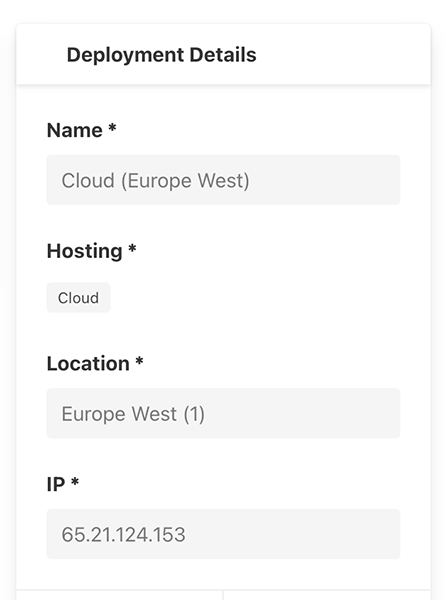
Provide plugin basic information such as:
- name - casual name of the plugin in case there are more plugins in organization
- location - information where in customer’s premises the plugin is located
- IP address - IP address of the host on which the plugin will be deployed/run
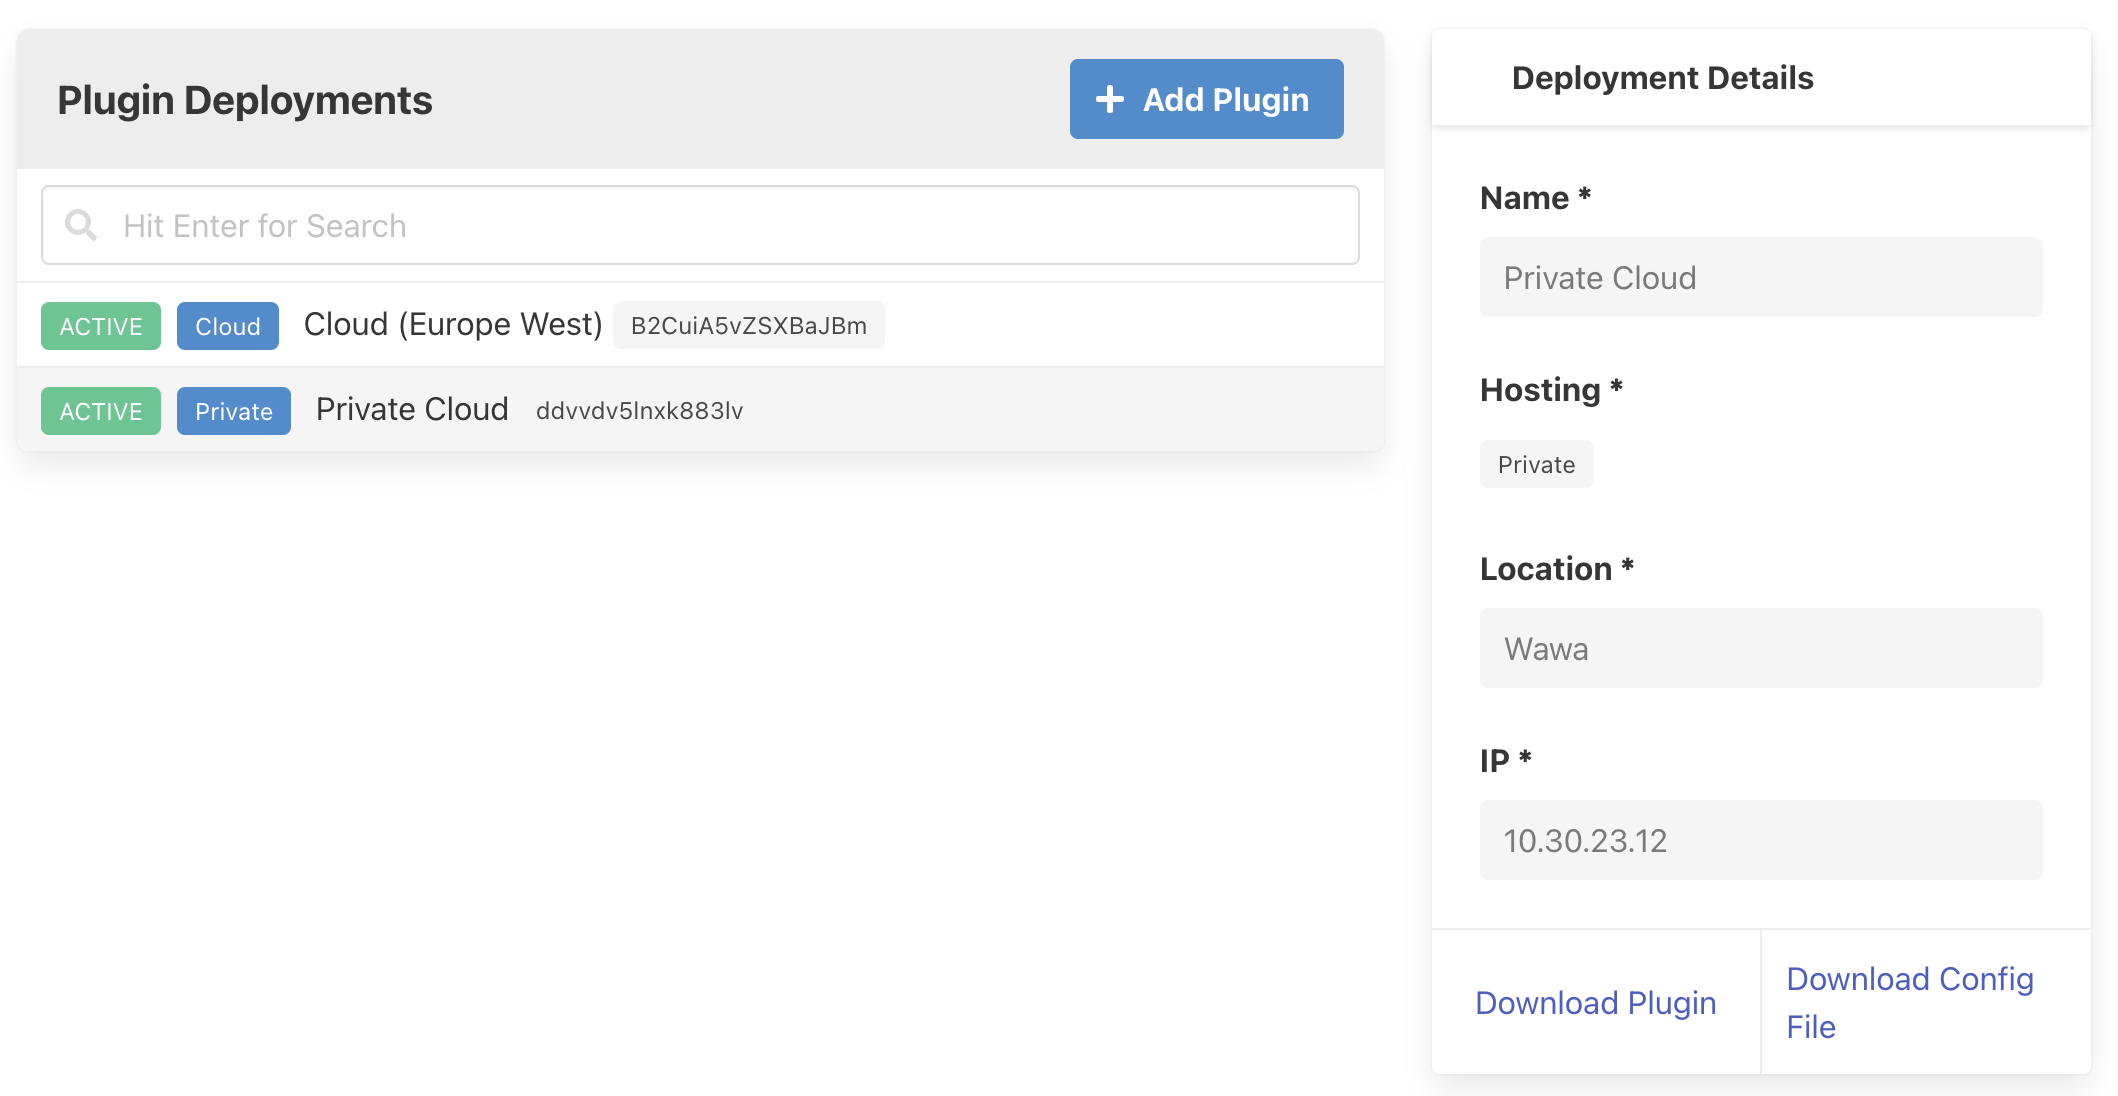
After plugin is created, select newly created plugin and download both plugin configuration file and plugin binary itself by using actions:
- Download Plugin
- Download Config File
Download both files (configuration file and binary plugin file) to the infrastructure element where the plugin will be run. Both files ( config.cfg and q247-enterprise-plugin-linux-*) should be in the same folder.
Start the plugin with following command:
nohup ./q247-enterprise-plugin-linux-v2.0.19 --q247-ep-plugin-prod > q247-plugin.log 2>&1 &
Check that plugin has started properly:
# ps -efww | grep -i q247
root 1372705 1 5 Apr17 ? 15:59:29 ./q247-enterprise-plugin-linux-v2.0.19 --q247-ep-plugin-prod
Following files and directories are used when the plugin is operational:
- q247-plugin.log - plugin logs
- q247-working - working directory where plugin temporarily stores data from git repositories
- plugin.data, plugin.data-shm, plugin.data-wal - files of plugin local storage
When the plugin is installed and started further configuration is done solely in Q247 User Interface.